ネットに初心者向けの仮想通貨ビットコイン自動売買する方法がのってなかったので紹介します。

プログラミング初心者でも作れるよ😃


 web-lukes.info
Table of Contents
BOTの作り方
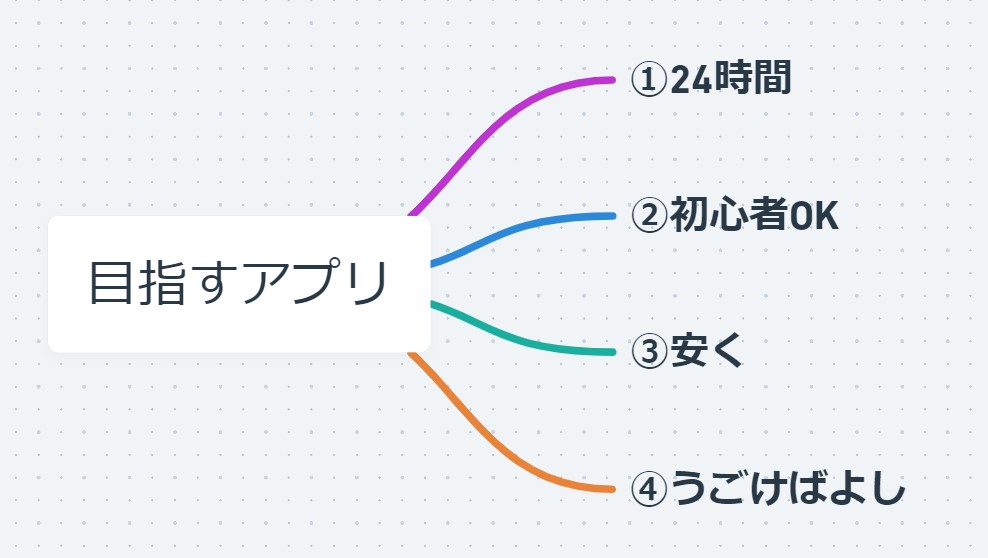
まずはゴールを決めて必要なものを割り出します。
「動けばいいや」 最初はそんな気分だった。
なんでもいいから動くBOTを組み立てたい。
挫折してしまうので出来るだけ簡単に。
ネットで下調べてみると情報がたくさんのってる。
- 取引所がAPIを公開しているのでそれを使えばトレードが出来るらしい
- TradingView有料プランでBOTにシグナルを送信する機能が使えるみたい
- 設置する場所はAWSやConohaが人気
- Googleもクラウドサービスがある
- コラボレートリーが便利そう
- Pythonで作れそう
情報を整理して以下の形でいこうと思います。
- プログラミング言語は初心者でもわかりやすいPython
- TradingViewのシグナル機能を使う
- Gmailでアカウント持ってるからGoogleのサービスで統一
- デモ口座もあるBybitでテスト開発
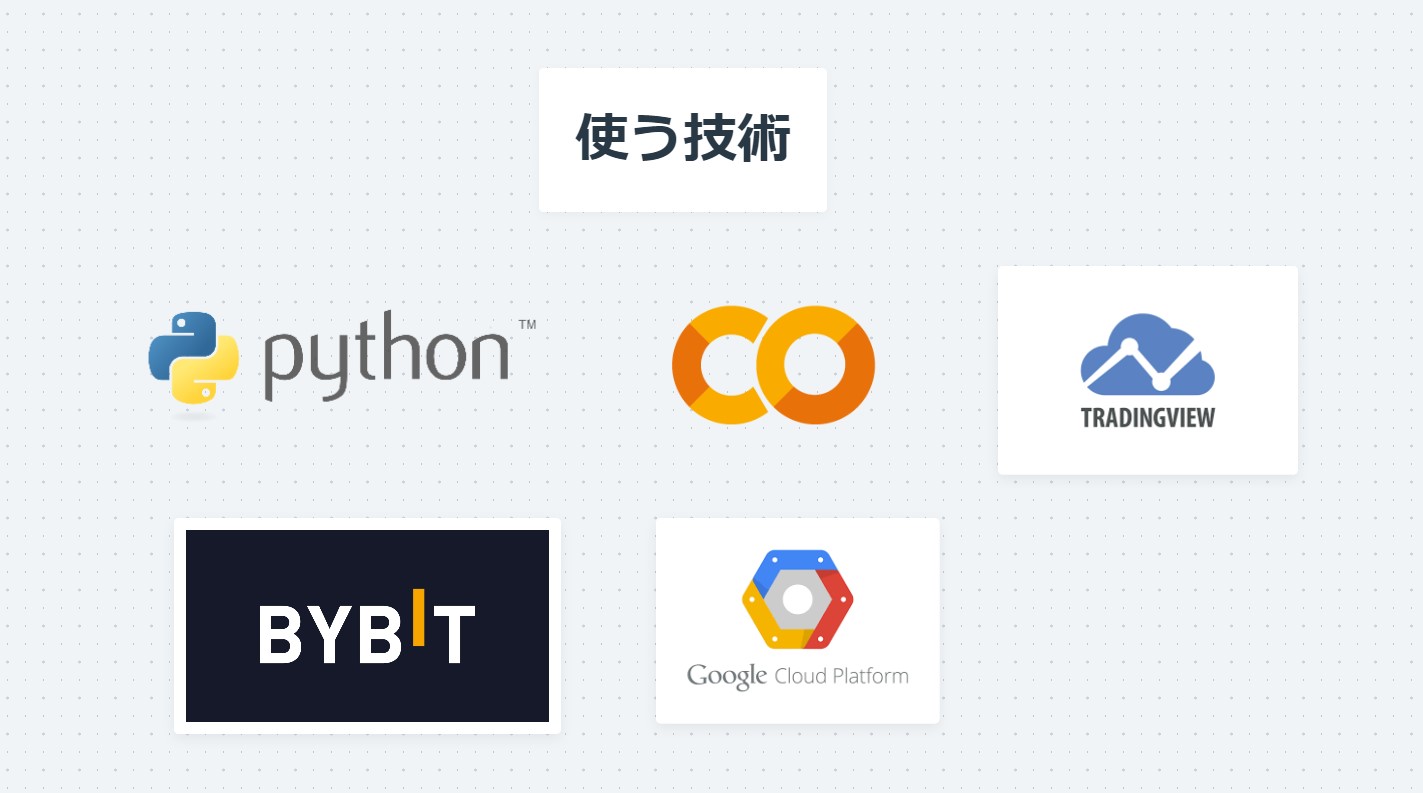
使う技術

 jp.tradingview.com
Pythonで全部作るよりTradingViewと組み合わせたほうが簡単
Pythonで全部やろうと思ったけどちょっと難しいです。

TradingViewを使えば
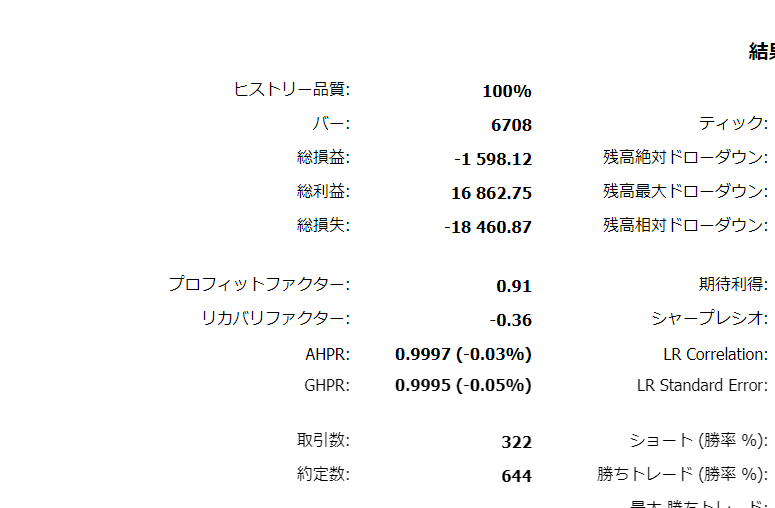
・ バックテストが可能
・ クラウドサーバーなので24時間いける
・ デフォルトのテクニカル指標・ストラテジーが使える
・ 有料noteのストラテジーが使える
キャンペーン情報


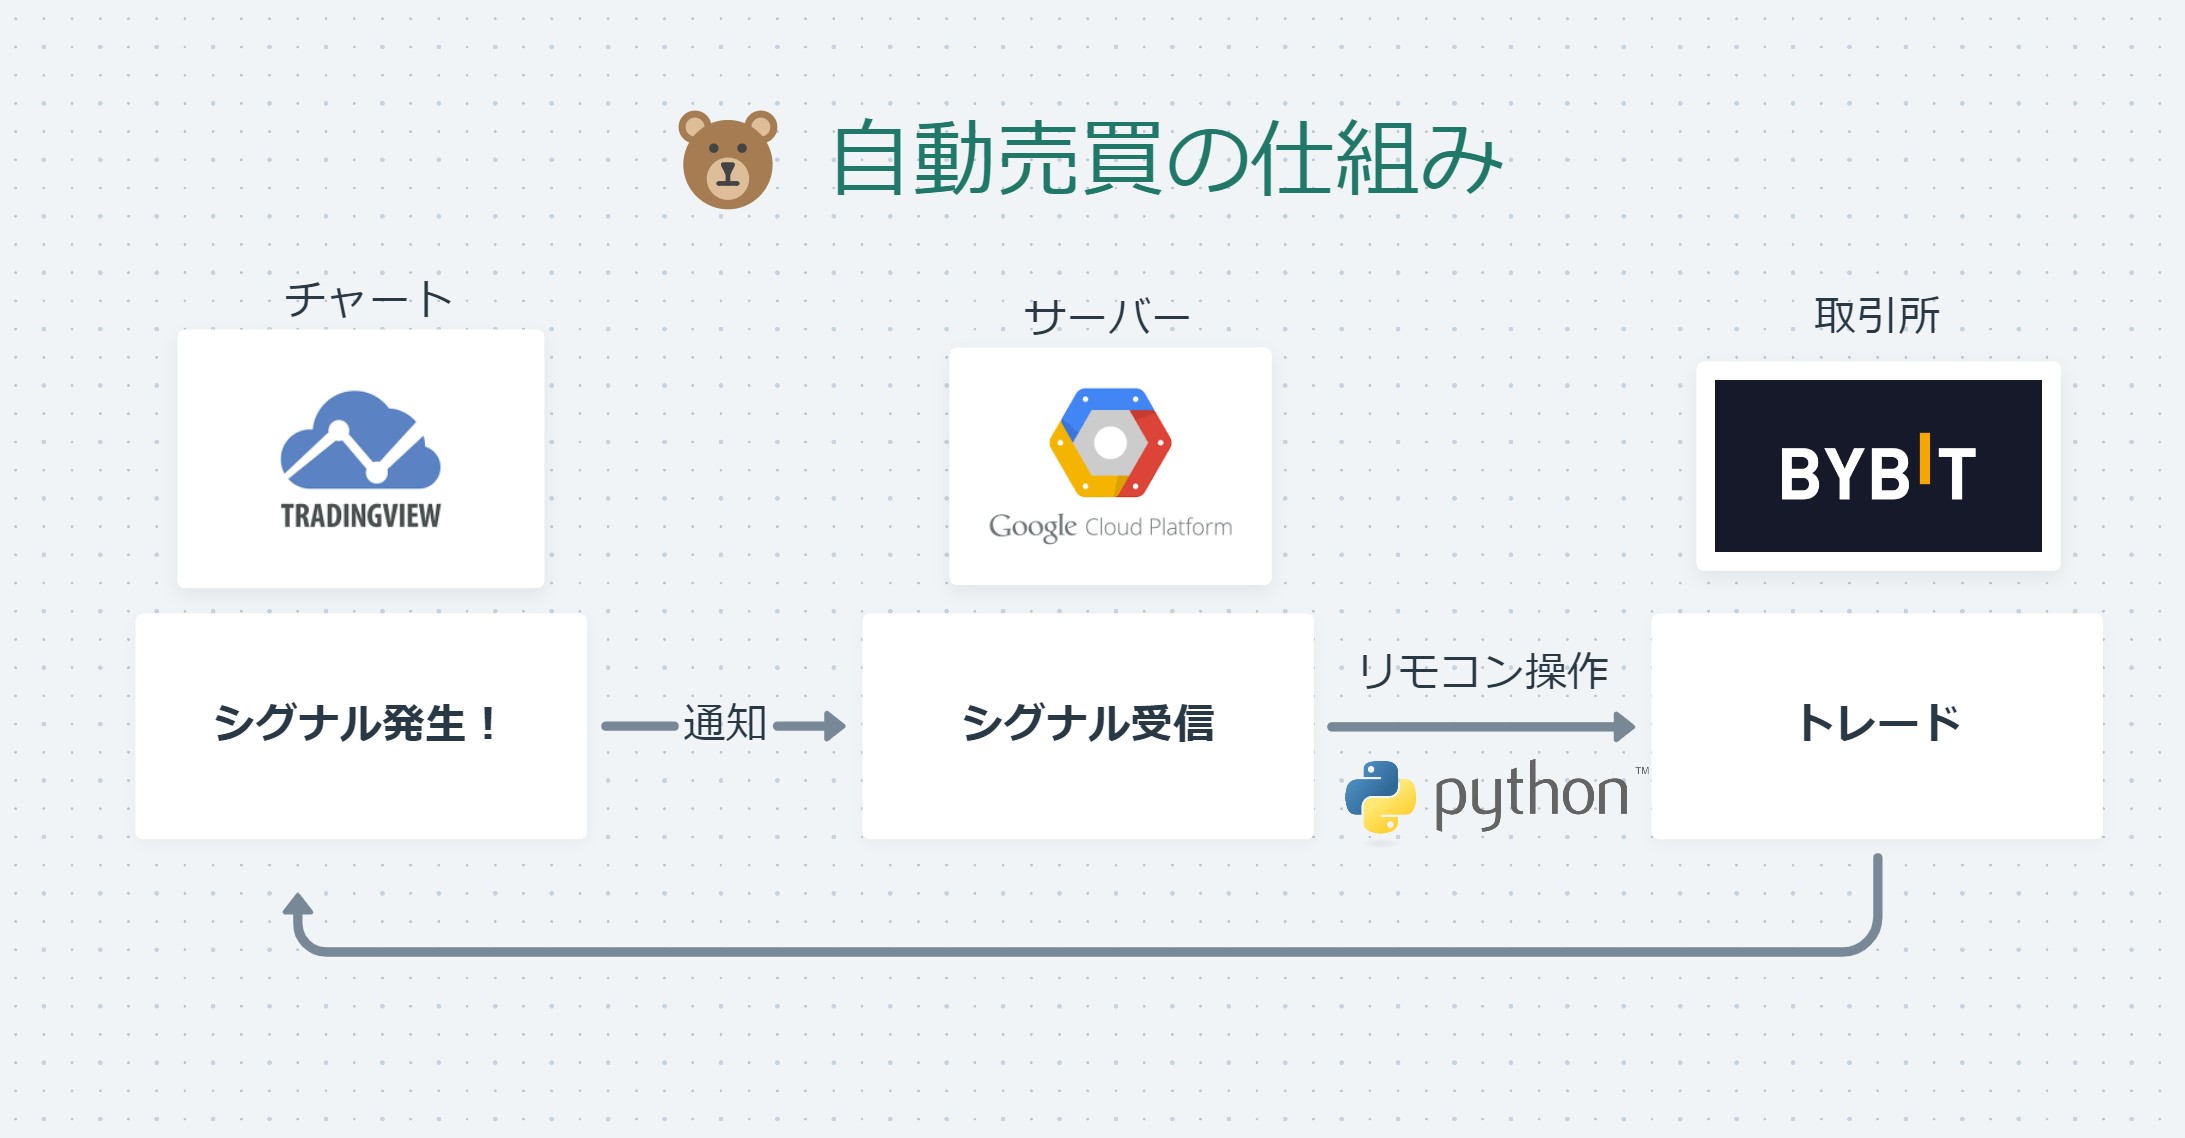
自動売買の仕組み
手順
Pythonの基礎を理解する
Googleコラボレートで試してみる
自動売買のロジックを用意する
TradingViewでストラテジーを使う
自動売買のシステムを作る
コピペで使えるコード
サーバーへ設置する
GCPのCloud Functionsにコピペする
コピペで動くコード
Cloud Functionsへコードをコピペで設置する
GCPのメニューからCloud Functions

関数の作成

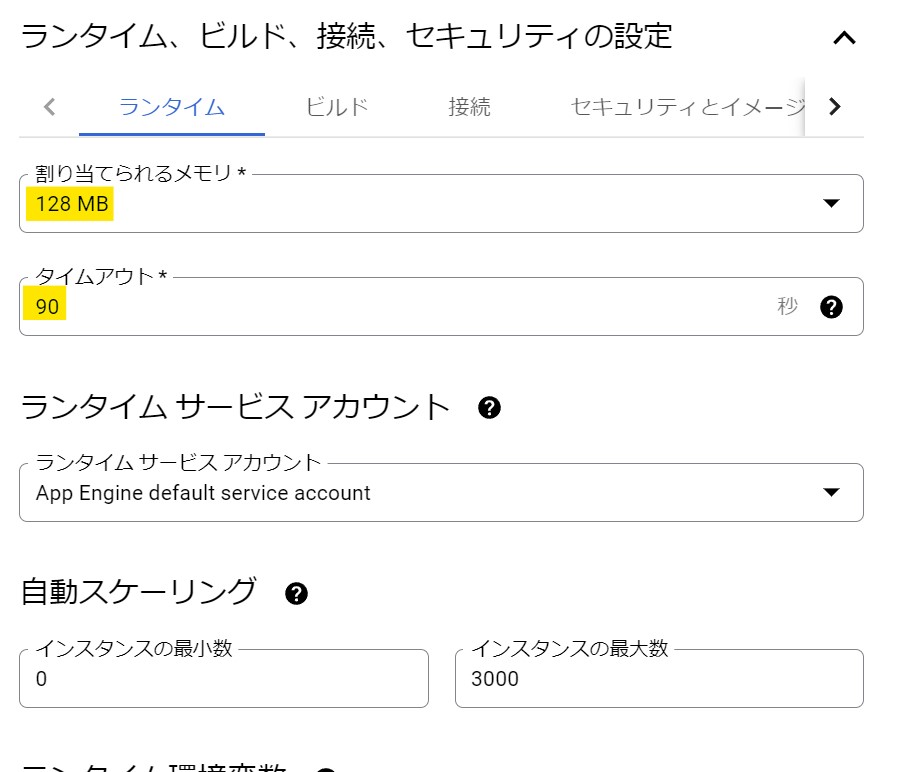
構成
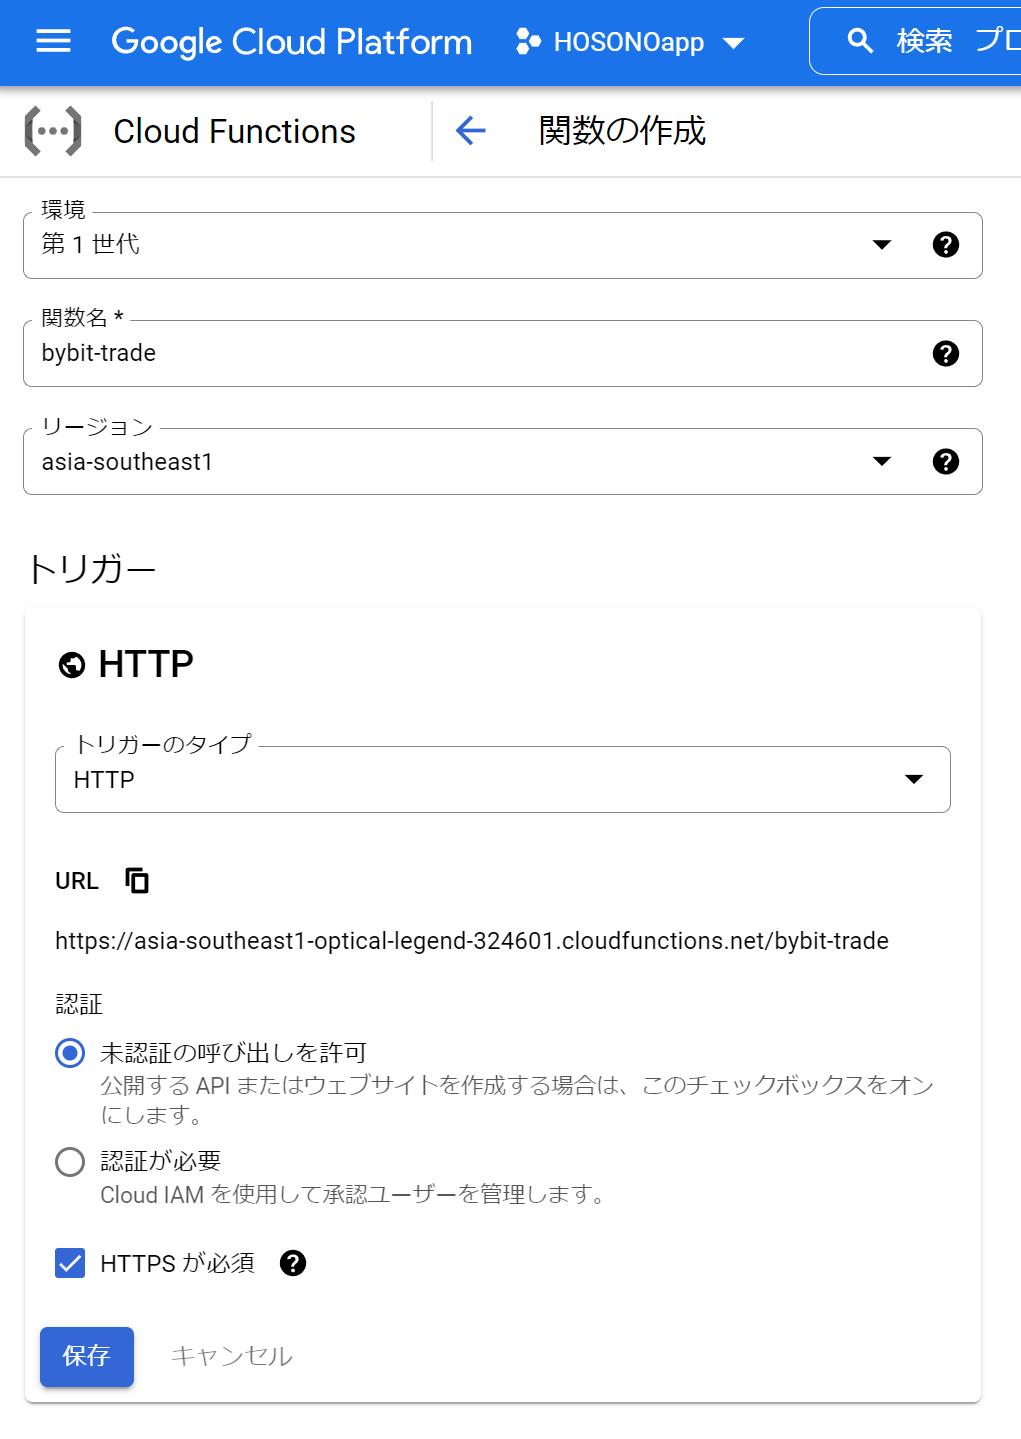
リージョンとは?
リージョンはサーバーが置いてある地域のことです。近い方が有利。Bybitはシンガポール拠点。
未認証の呼び出しを許可
未認証の呼び出しを許可すると外部からのアクセスを許可できます。
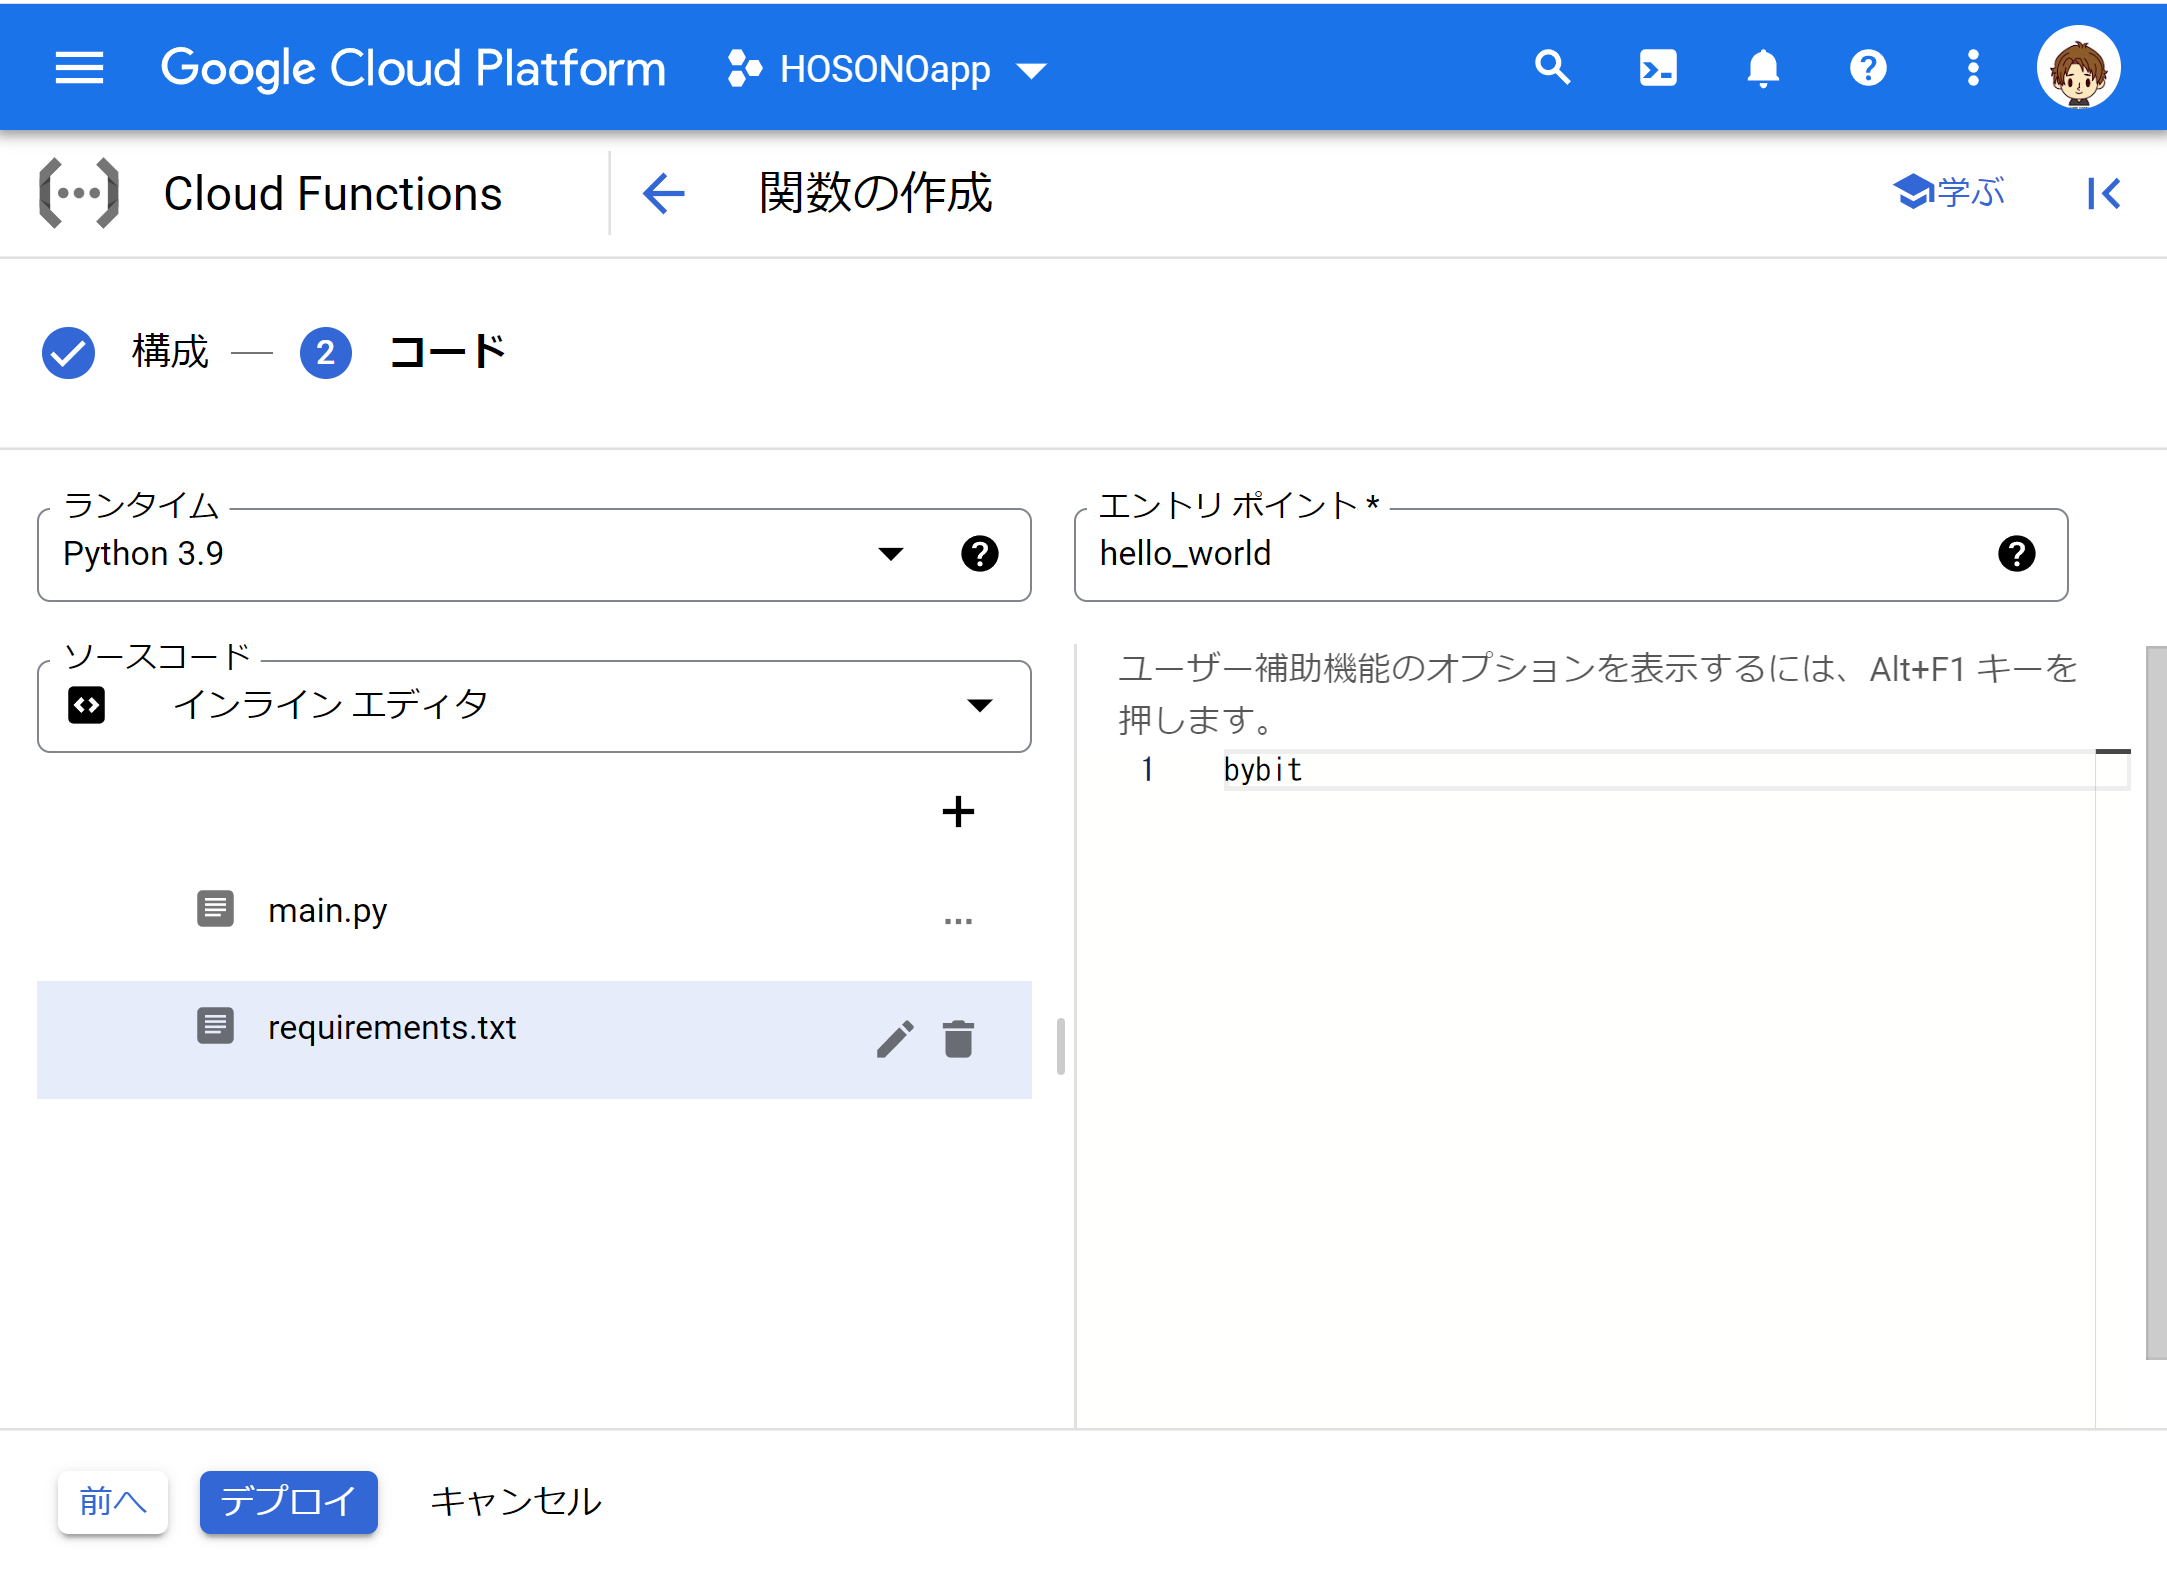
ランタイム
ランタイムをPythonへ変更


main.py

requirements.txt
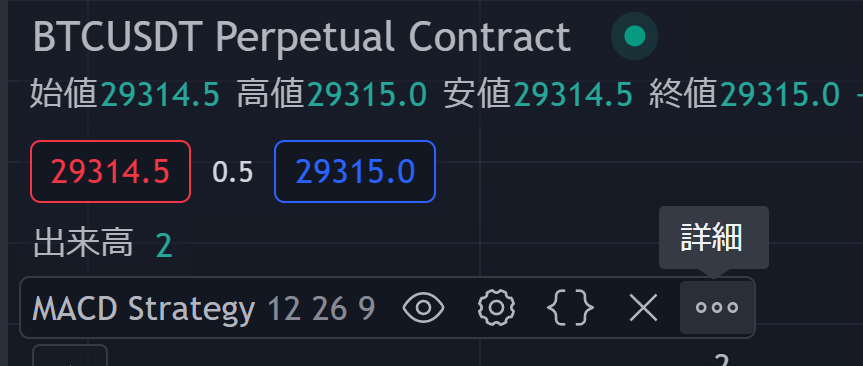
TradingViewの詳細
アラート追加

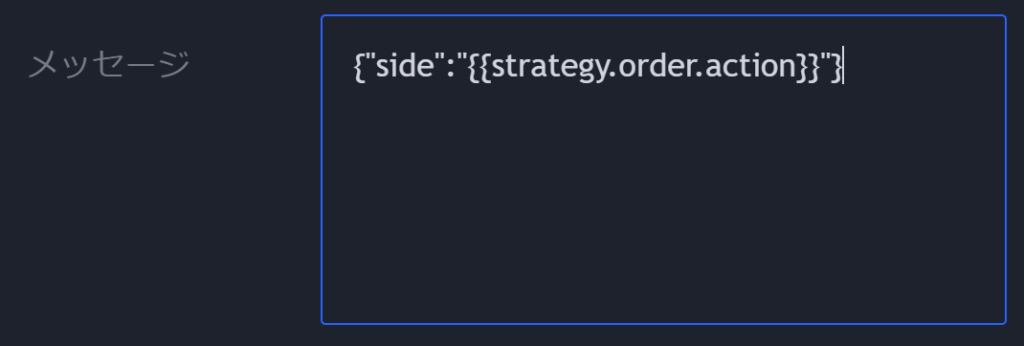
メッセージ
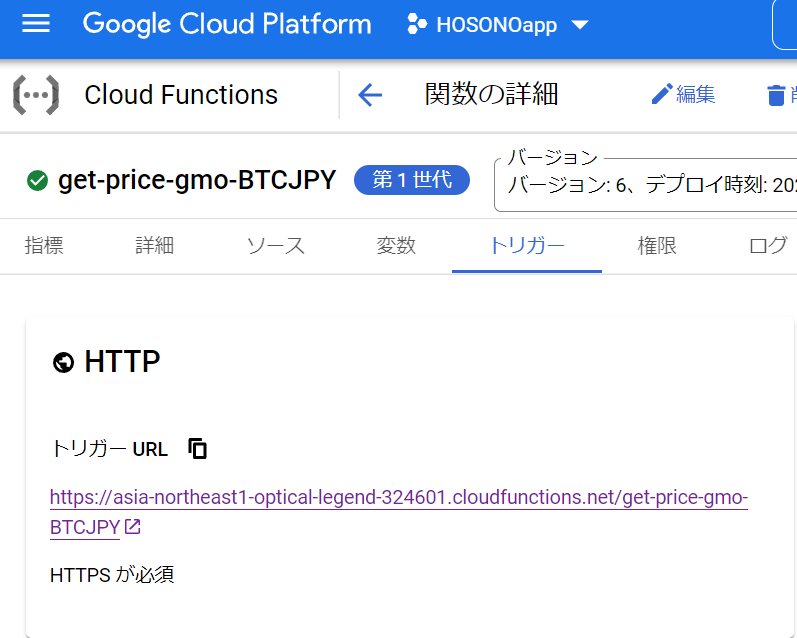
URLはGCPのここ
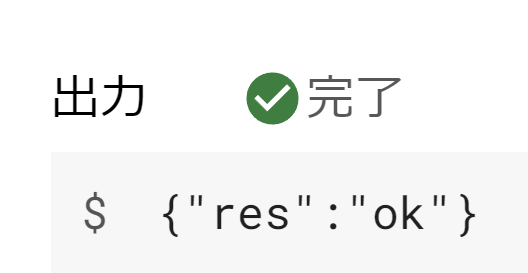
サンプルコードのテスト方法
テスト中のタブを開きます。そして以下のコマンドを入力して
{"side":"buy"}

関数テストします
うまくいった例
Trading View メッセージ
|
1 |
{"side":"{{strategy.order.action}}"} |
pybit版
2023年4月23日更新
- pybit version5対応しました。
- BOTの決済注文から新規注文へ0.1秒待機するように変更しました。
Cloud Functions
bot/
├ main.py
├ requirements.txt
|
1 2 3 4 5 6 7 8 9 10 11 12 13 14 15 16 17 18 19 20 21 22 23 24 25 26 27 28 29 30 31 32 33 34 35 36 37 38 39 40 41 42 43 44 45 46 47 48 49 50 51 52 53 54 55 56 57 58 59 60 61 |
import time from pybit.unified_trading import HTTP #ーーーーーーーーーーーーーーーーーーーーーー # 本番用 #ーーーーーーーーーーーーーーーーーーーーーー # session = HTTP( # testnet=False, # api_key="API_KEY", # api_secret="API_SECRET" # ) #ーーーーーーーーーーーーーーーーーーーーーー # デモ口座用 #ーーーーーーーーーーーーーーーーーーーーーー session = HTTP( testnet=True, api_key="g25wEmNKDk6jkr3XIq", api_secret="BP2xmQFeUOyVgoJMCHqOuNwxUy5oZwh8UeOm" ) def hello_world(request): request_json = request.get_json() side = request_json["side"] # 買いの場合処理 if side == "buy": position_close("Buy")#決済 time.sleep(0.1)#0.1秒待機 position_entry("Buy")#新規注文 # 売りの場合処理 if side == "sell": position_close("Sell")#決済 time.sleep(0.1)#0.1秒待機 position_entry("Sell")#新規注文 return "ok" def position_entry(side): try: print(session.place_order( category="linear", symbol="BTCUSDT", side=side, orderType="Market", qty=0.001, positionIdx = 0 )) except Exception as e: print(e) def position_close(side): try: print(session.place_order( category="linear", symbol="BTCUSDT", side=side, orderType="Market", qty=0.001, positionIdx = 0, reduceOnly = True )) except Exception as e: print(e) |
|
1 |
pybit |
APIキーの取得
新しいキーの作成

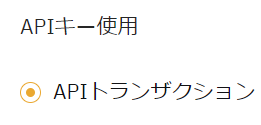
システム生成APIキー

APIトランザクション
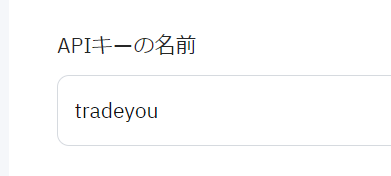
名前
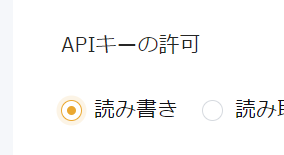
キーの許可は読み書き
IP制限なし
チェックボックスを上から5個ONにする

送信
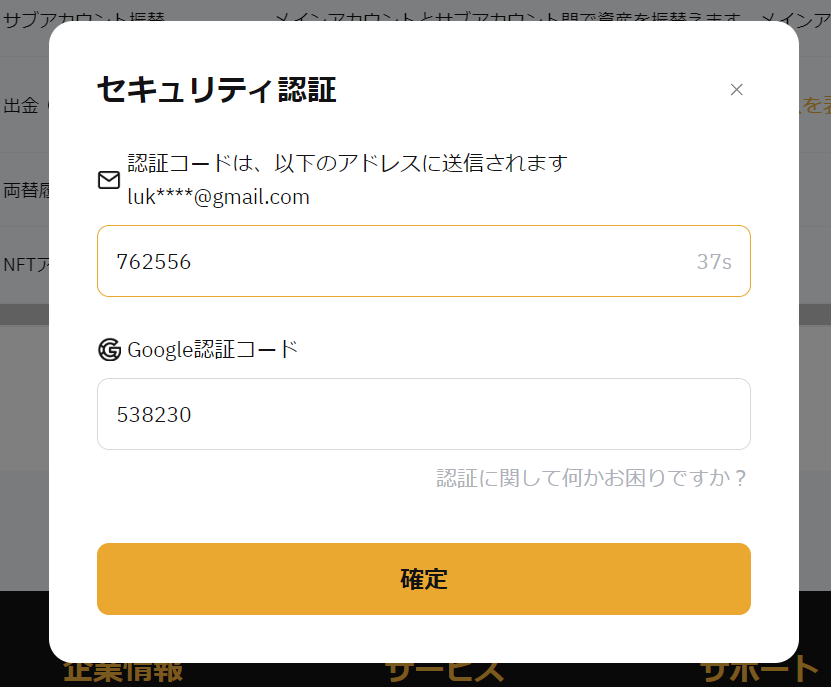
認証
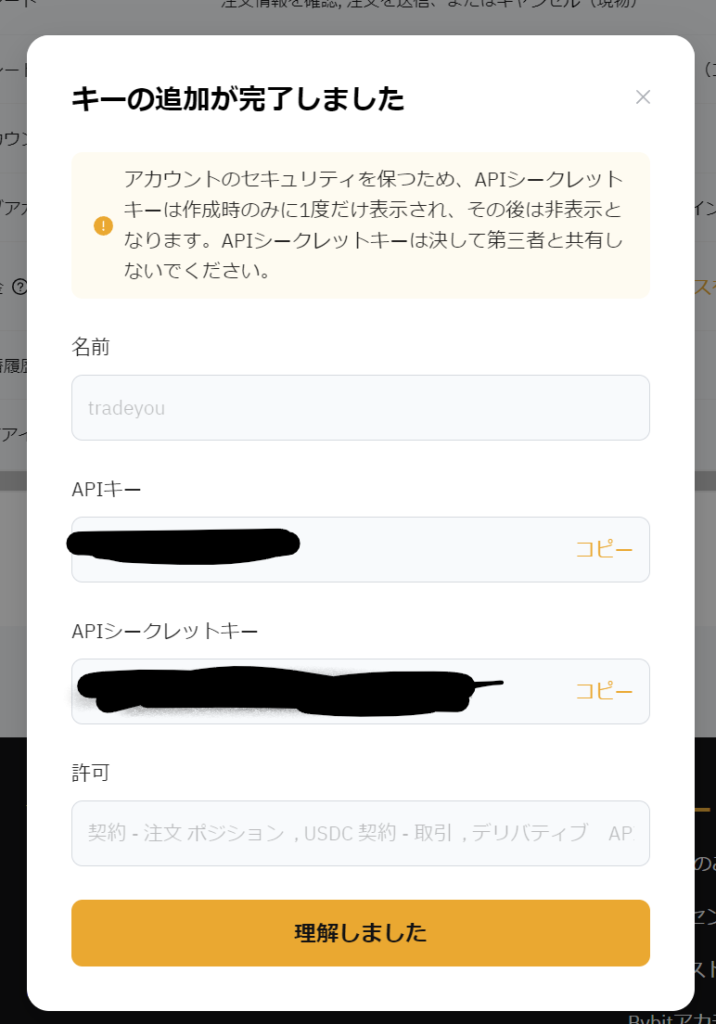
APIキー、APIシークレットキーが取得できる
ブログが赤字なのでAmazonの欲しいものリストを公開します。ここから購入すると管理人に荷物が届きます。


BybitがGoogleのIPアドレス規制をしているためです。国内のVPSなら使…
自分のbotで使ってるAPIキーを使用しているんですが、 You have br…
pybit 最新版にコードを変更しました。コードとrequirements.tx…
お返事ありがとうございます。はい。pybit==2.3.0になっております。
コードはあっていると思います。rewuirements.txtは「pybit==…